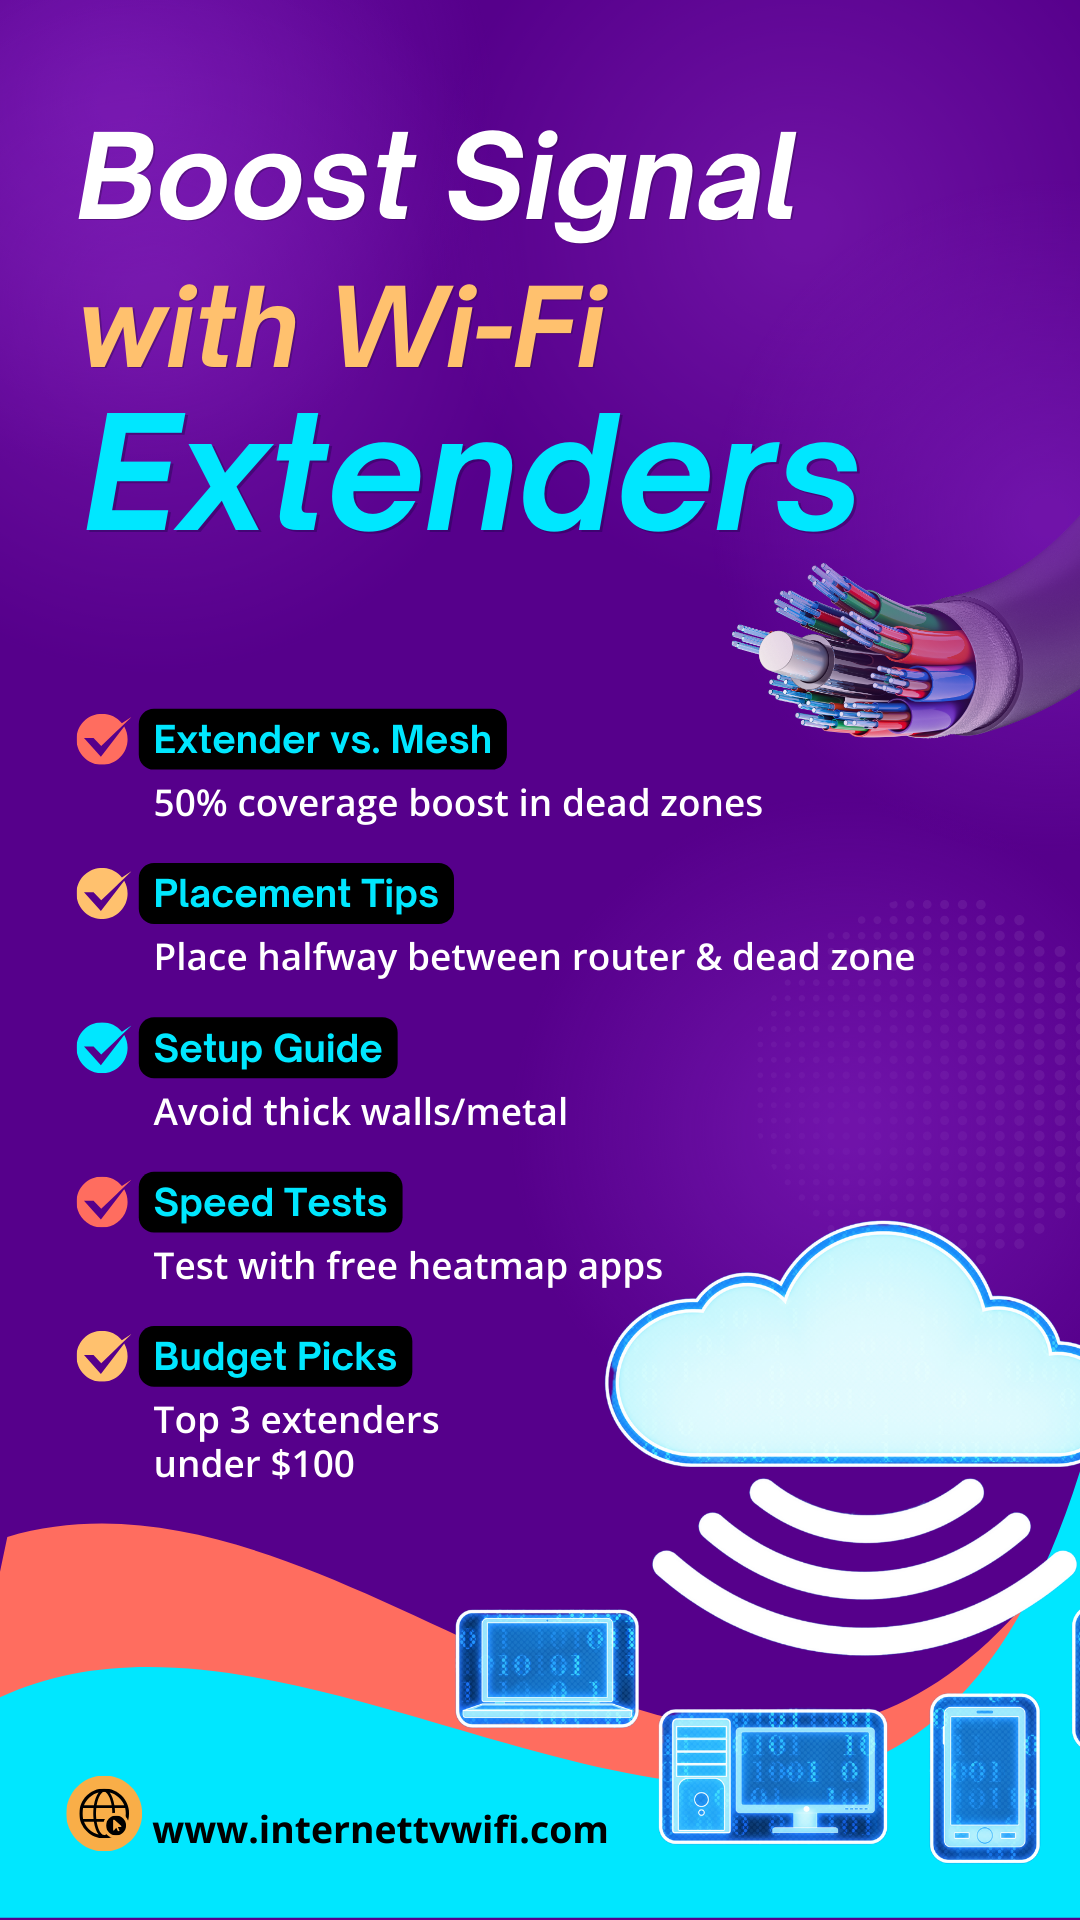
Frustrated with dead zones in your home? Learn how Wi-Fi extenders can help — and how to set them up for maximum coverage and performance.
Introduction: Don’t Let Weak Wi-Fi Drag You Down
Dropped Zoom calls in the bedroom? Buffering in the basement? Slow speeds in your backyard office?
If you’re struggling with spotty Wi-Fi or dead zones, a Wi-Fi extender might be your best (and budget-friendly) fix. These small devices help stretch your wireless signal into hard-to-reach areas, giving you stronger, more consistent internet wherever you need it most.
In this guide, we’ll explain how extenders work, compare them to mesh systems, offer expert setup tips, and reveal the best affordable options on the market.
📶 Extender vs. Mesh: What’s the Difference?
While both Wi-Fi extenders and mesh systems are designed to improve signal reach, they work a bit differently:
| Feature | Wi-Fi Extender | Mesh System |
|---|---|---|
| Cost | $30–$100 | $200–$500+ |
| Setup | Plug-and-play | Multi-device setup |
| Best For | Isolated dead zones | Full-home coverage |
| Performance | Depends on placement | Seamless roaming |
Bottom line: If you have one or two weak spots, extenders are a smart solution. For large homes with many devices, mesh might be worth the investment.
📍 Placement Tips: Where to Put Your Extender
Placement is everything. An extender works by receiving your router’s signal and rebroadcasting it. If it’s too far from your router, it won’t help. If it’s too close, it won’t reach your dead zone.
Ideal placement:
✅ Halfway between your router and the area with poor signal
✅ Clear of thick walls, appliances, or metal surfaces
✅ Elevated on a shelf for better line-of-sight transmission
Use apps like WiFi Analyzer or NetSpot to find signal strength hotspots.
🔧 Setup Guide: Get Up and Running Fast
-
Plug in your extender in a central location (temporarily).
-
Connect to it via your phone or laptop using the provided setup instructions.
-
Follow the prompts to sync it with your existing Wi-Fi network.
-
Move it to the optimized halfway point (as above).
-
Test speeds with apps like Speedtest.net or WiFiman.
🧪 Speed Test & Signal Check
After setup, test the coverage:
-
Run speed tests in your previously weak areas
-
Use a heatmap app (like NetSpot) to visualize signal improvements
-
Reposition if needed until you achieve solid coverage
💰 Best Budget Picks: Top Wi-Fi Extenders Under $100
Looking to extend your Wi-Fi without overspending? Here are three solid choices that get the job done:
-
TP-Link RE315 – Dual band, fast setup, under $50
-
NETGEAR EX6120 – Compact design, speeds up to 1200Mbps
-
Linksys RE7000 – Smart roaming & MU-MIMO for multiple devices
All available on Amazon and highly rated for home use.
🚀 Final Thoughts: Simple Fix for Stronger Wi-Fi
Wi-Fi extenders offer a cost-effective way to eliminate dead zones and enjoy better internet performance in every corner of your home. With a smart placement strategy and the right device, you’ll boost your signal — and your productivity.
🌐 Explore More Tips at internettvwifi.com
Visit www.internettvwifi.com for more tutorials, product reviews, and tools to optimize your home Wi-Fi — including how to choose the right extender or switch to mesh when you’re ready to scale up.
📢 Take Action Now!
🔁 Share this post with friends and family struggling with slow internet.
🔗 Visit www.internettvwifi.com for a free book: Your Guide to Choosing the Best Internet and Cable Provider.
Also checkout these free Tools: https://internettvwifi.com/tools/